CUSTOM CUTOUT PHOTO TIPS
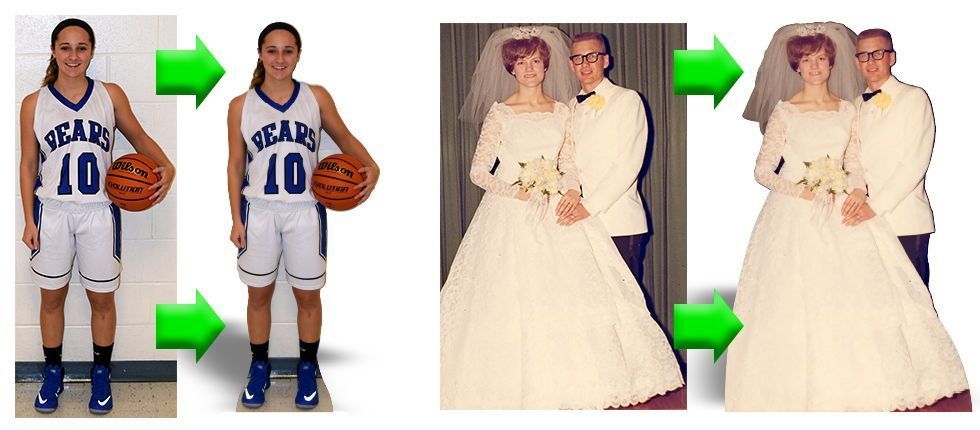
Custom cutouts have no limits! Use nearly any image and create a contour cut life size cutout. This page is to help you understand the photo guidelines and resolution requirements. Here at Life Size Custom Cutouts we know that sometimes you can't go back in time and take a high resolution photo; AND THATS OK! Old wedding photos and the like are more than welcome and our kind staff will show you a quality proof before proceeding with your order.

MINIMUM CUTOUT RESOLUTION
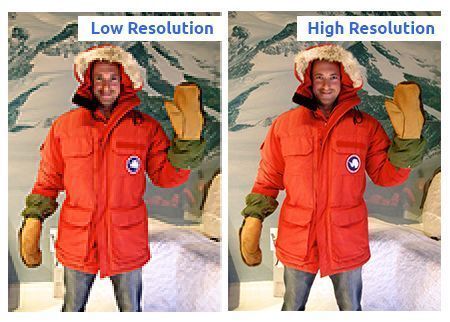
A cutouts resution or DPI is a reference to how many pixels make up one inch of the photo. The higher the resolution or DPI the cleaner the final cutout will be. Low resolution images may appear to be blurry pixelated or even mosaic like. To avoid any of these problems be sure your camera is set to the highest resolution possible. While it is sometimes possible to use photo's from social media most of these provide a useable but low quality print. If you have any doubts or concerns on the quality of your images,please don't hesitate to contact us. Photos printed or developed by a commercial printer or a sublimation photo printer are the best. Photos printed on a non-commerical printer or home printer will show dots when enlarged. When taking a photograph with a digital camera, always put it to the highest settings. If you need more information on that, check out our "Taking Your Photos" directions directly below.

TAKING THE BEST PHOTO

For the best cutout image possible follow these cutout photo taking tips. For resolution and camera settings please refer to your cameras user manual.
- Check your camera resolution settings.
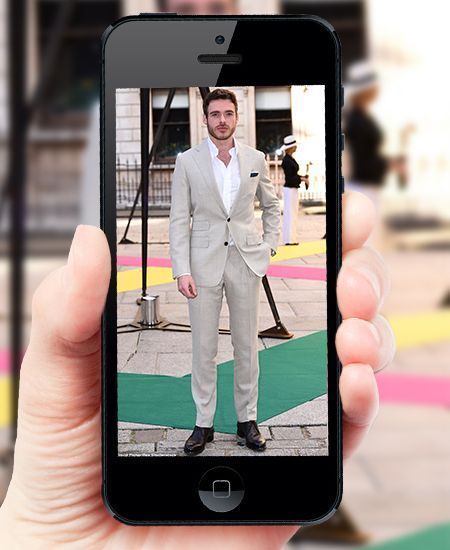
- Take it vertically, not horizontally.
- Try not to zoom, just step closer.
- Do not cut the feet or arms off.
- Light backgrounds are better.
- Sharp, focused, and clear images work the best.
- Negatives or slides are not currently accepted
- Be sure you cameras resolution or DPI is set to the highest possible. Cameras by default lower this quality to allow for more pictures to be taken. When taking your cutout photo be sure this setting is turned all the way up.
- Taking your photo vertically ensures the most pixels are available when making your custom cutout.
- Digitally zooming on many camera's lowers resolution and the final quality of the cutout. When taking your cutout picture step closer to the subject instead of zooming. Fill as much of the view finder with the subject as possible.
- Just a suggestion. But here at Life Size Custom Cutouts we know not every picture is scripted. Have a picture tahts lacking limbs or a body? Let our photoshop wizards work their magic by selecting the photo and artwork modification option during your product creation.
- Lighter background ensure a contour cut true to shape. Contrasting backgrounds are recommended.
SCANNING A PHOTO
Scanned photos should be at least 200dpi to be enlarged. For the best quality use the highest dpi setting available to your scanner. The higher the resolution the clearer the final product will look. When scanning an image for your custom cutout make sure the entire subject is in the scanners window. Whiles scanning the image be sure to keep the lid closed and do not move the scanner or image.
Low Resolution Options
With over 29 years of experience in the cutout industry we want every customer 100% satisfied. After printing many blury life size cutouts upon request we spent the last year researching an alterantive. Introducing the Shelf Buddy!Shelf buddies are 8" or 12" acrylic cutouts made directley from your photo. Acrylic cutouts make great memento's and creative thoughtful gifts. Worried your only photo is not going to work? Check out the shelf buddy option.
Taking Photos of a photo
Taking a picture of a picture generally returns poor results. When trying to use old photos it is best to refer to our scanning a photo section. Taking a picture of your computer screen also has very poor results typically due to pixelization. Please send us the digital file instead of taking a picture of the screen.


